Hi!
Today we release an exciting new Phaser Editor version. We added new features like the Text object, the Text, Tile and Button prefabs, the internal browser, the Local Phaser Examples Website and the new autoLoad parameter to get more control of the assets loading.
Scene editor
New Text object
To create Text (Phaser.Text) objects right click on the scene and select Add.. > Text:
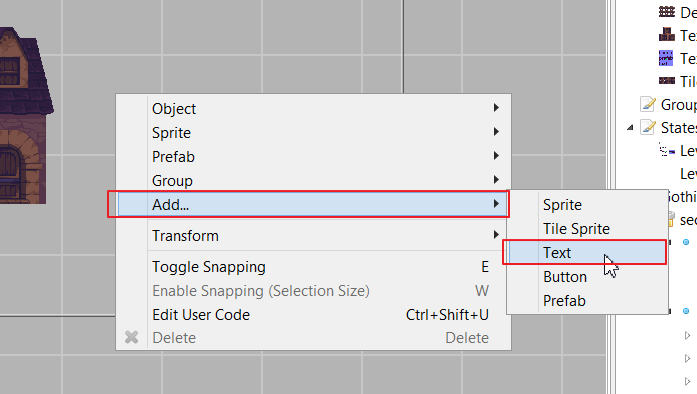
It opens a dialog to set the text content:
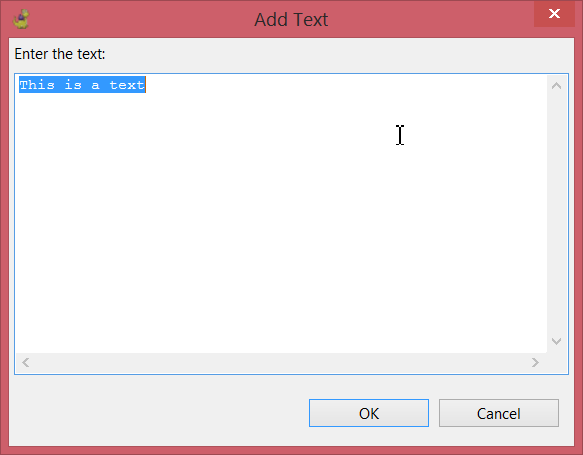
For the moment these are the Text parameters supported by Phaser Editor:
text: The text content.style.font: The name of the font.style.fontSize: The font size in pixels.style.fontWeight:BOLDorNORMAL.style.fontStyle:REGULARorITALIC.style.fill: The text color.style.stroke: The text stroke color.style.strokeThickness: The stroke width.style.backgroundColor: The background color of the text.style.align: The text horizontal alignment (LEFT,CENTER,RIGHT)
A Text object is generated to code like this:
this.add.text(340, 212, 'Hello', {
        "font" : "bold 20px Arial",
        "align" : "center"
    });
To change the content of a Text object select it and press Ctrl+T.
Text prefabs
Text Prefab is the method we recommend to create different Text objects with the same style and behavior. A Text prefab is like any other sprite prefab, but it extends the Phaser.Text class.
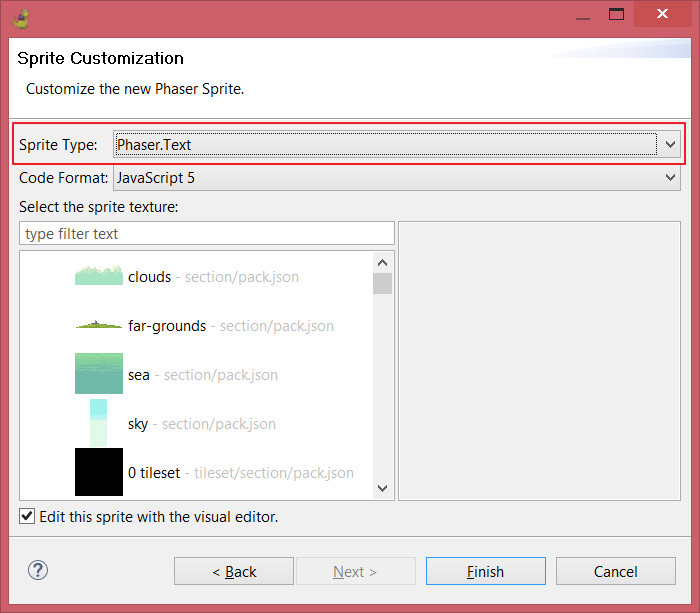
To create a Text prefab select File > New > Sprite Prefab File, it opens the New Sprite wizard. In the first page enter the name of the prefab and press Next. On the following page select the Phaser.Text value of the Sprite Type parameter:
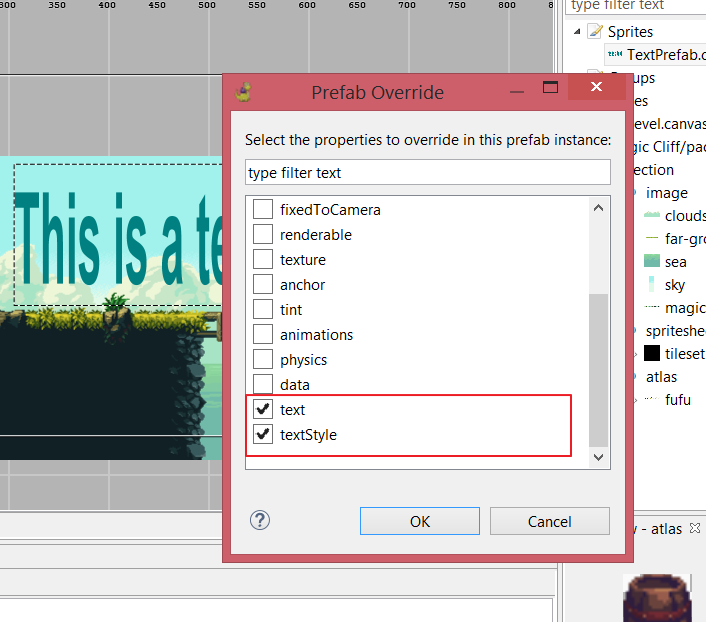
To create Text prefab instances just drag the prefab from the Assets window and drop it in the scene. To change the content or style of a Text prefab instance you have to override the text or textStyle property. Just select the object and press R, it opens the Prefab Override dialog, where you can select the properties to override:
Custom fonts
The Text objects use the fonts installed on your system, keep this in mind when you use custom fonts. Not all fonts are available on all the platforms. You always have the option of pack the font file together with the game and load it via CSS.
Phaser Editor uses JavaFX to render the scene but Phaser uses the browser, this could result in different metrics. For the next release, we will try to mimic how Phaser layout fonts to provide a more accurate design-time rendering.
Support for Text, Tile and Button prefabs
Like sprite and group prefabs, text, tile and button prefabs could be very useful in your game. In the previous section, we explained how to create a Text prefab, the other type of sprite prefabs can be created in the same way.
In the main menu select File > New > Sprite Prefab File to open the wizard. In the first page set the prefab name. In the second page select the type of the prefab and the texture (not required for the Phaser.Text type).
Object morphing
It is possible that you create a prefab but later you need to change its type, in that case, you can just morph it into the desired type. Just right-click on the object and select Sprite > Morph To.. > ( Sprite | Tile Sprite | Button | Text).
More loader control
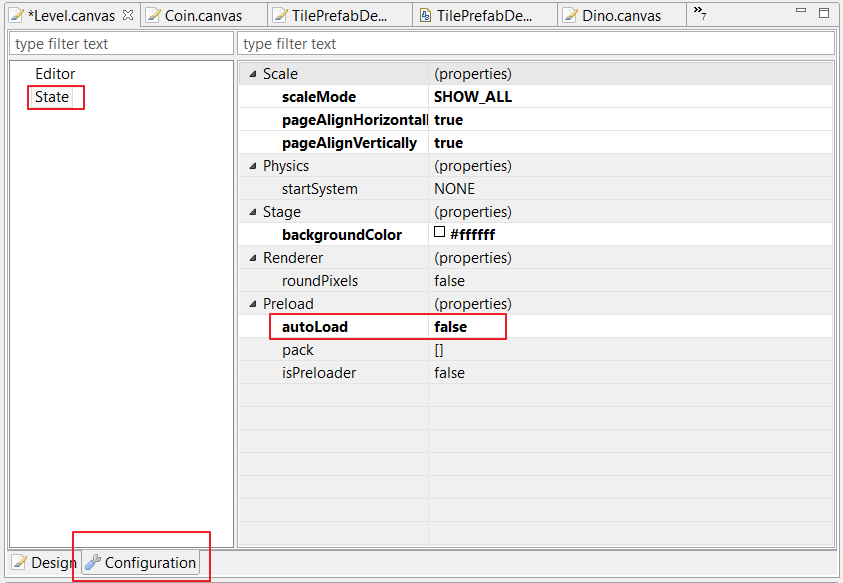
We introduced a new autoLoad parameter that you can use in State scenes to disable the automatic loading of the assets.
By default, when you drop an object into a State scene, the texture is loaded in the preload method of the generated code. However, in bigger games, you would like to get full control of when to load the assets, for example, a common pattern is to load all of them in a Preloader state.
If you want to disable the automatic loading of the assets, then set the autoLoad parameter to false. You can find this parameter in the Configuration tab in the state> Preload section.
If the autoLoad parameter is set to false, only those section listed in the pack parameter will be loaded.
Keep layout when dropping sprite-sheet frames
Often pixel artists deliver their art in form of sprite-sheets where the layout of the frames is important. Now in Phaser Editor you can select the frames of a sprite-sheet shown in the Preview window and drop them into a scene:
![]()
To select the frames hold the Shift key and move the mouse over frames. To clear the selection press ESC.
Pivot transformation
To change the pivot of an object (sprite or group), right click on the object and select Transform > Pivot (or press V). Like the rest of transformation tools, the Pivot transformation tool allows you to change the pivot by dragging a handler to the desired position.
In combination with groups and tweens, the pivot transformation tool allows creating bones-like animations. Probably we are going to write a small tutorial about it.
Others
- Press the
Ukey to select the parent of an object. - When an object is selected in the scene it is revealed in the outline window.
- The animation dialog scales the images to fit the window, and the frames on the left side panel can be in-line previewed.
- Code generator uses UTF-8 encoding by default.
- The
Akey opens the animations dialog. - The
Rkey opens the Prefab Override dialog. - Press
DELto reset the value of a color property (liketint) in the properties grid. - Added the transformation icons to the scene toolbar:

Preview window improvements
The Preview window received some love, images now can be scaled to be more readable.
Atlas preview
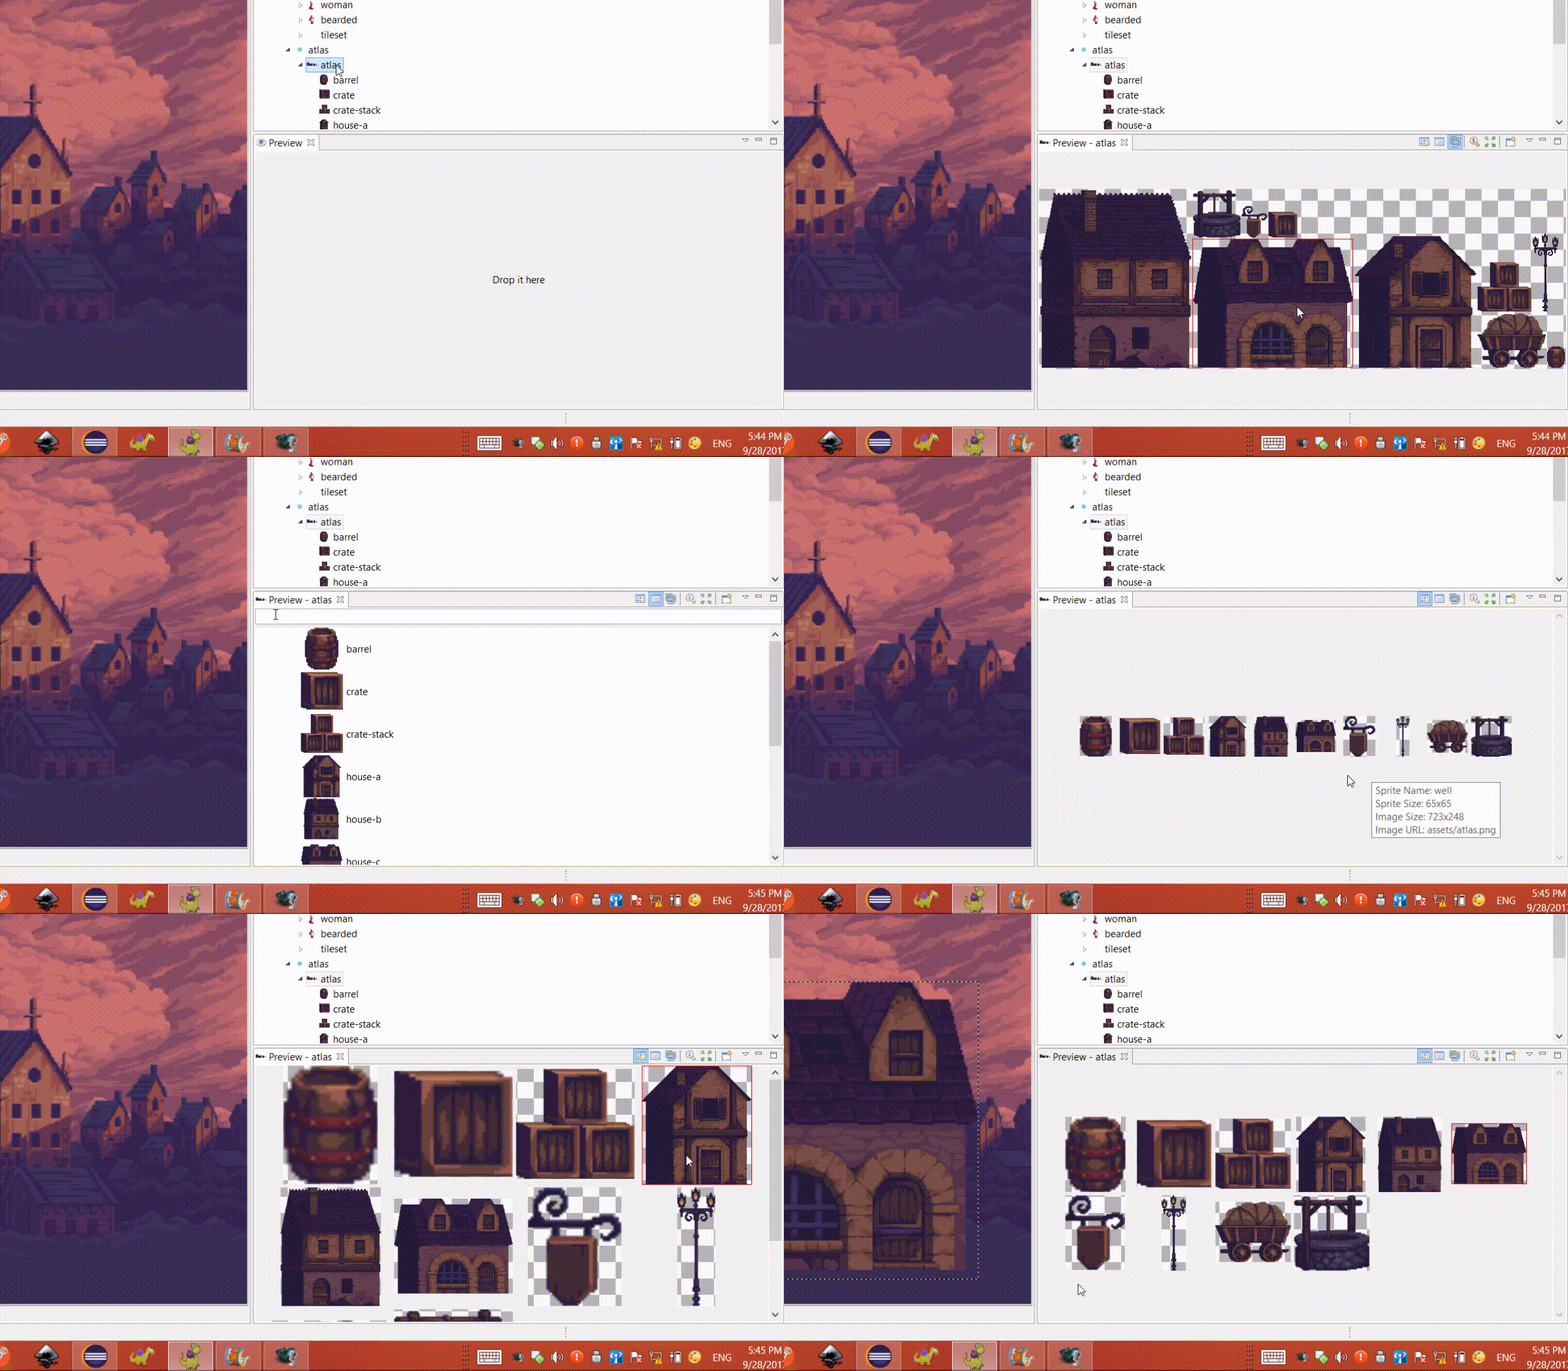
You can preview an atlas asset in three different modes: Tiles (default), List and Texture (or Original). To change from one mode to other, click on the toolbar buttons:
Tiles mode
The Tile mode is the default mode is open when you drop an atlas asset in the Preview window. In this mode, the atlas sprites are scaled to a fixed size and placed in rows and columns. You can scroll in/out the mouse to zoom the sprites.
Sprite-sheet preview
Now the sprite-sheet preview image can be scaled by scrolling the mouse. Individual frames can be played by selecting them and pressing the play button:
![]()
As mentioned in a previous section, now you can select some frames and drop them into a scene, and keep the same layout. This is very useful if you like to create maps like you do in tools like Tiled.
Local Examples Website
The Local Examples Website is a small website running in localhost where you can browse the Phaser official examples. To access this click on this button in the toolbar:
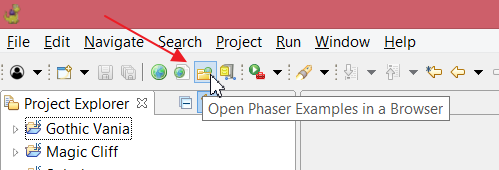
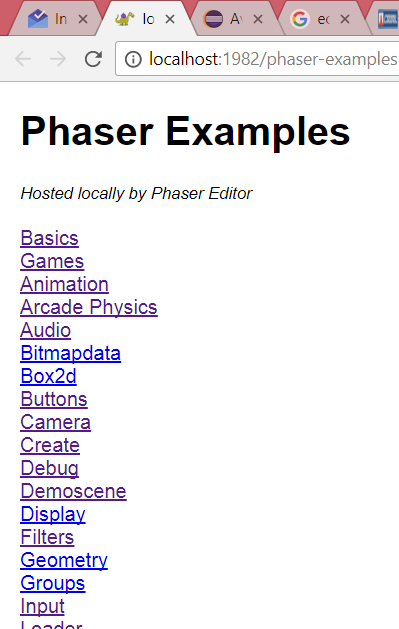
It starts the local HTTP server and opens the OS browser on the local website address. The website is very simple and minimalist, in there you can browse all the Phaser examples, run it and see the code. The advantage of this website is that you don't need a fast internet to get quickly into the Phaser examples. The drawback is that some examples just do not work cause it depends on third-party plugins. Progressively we are going to fix them.
Launch from project wizard
A nice advantage to have the examples running locally is that you can launch an example quickly from different sources, like from a Phaser Example Project wizard.
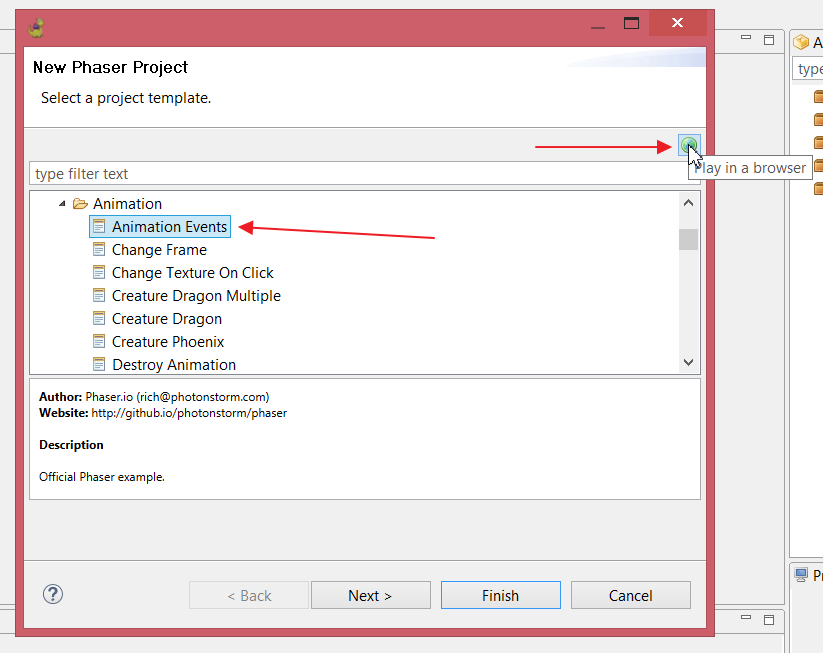
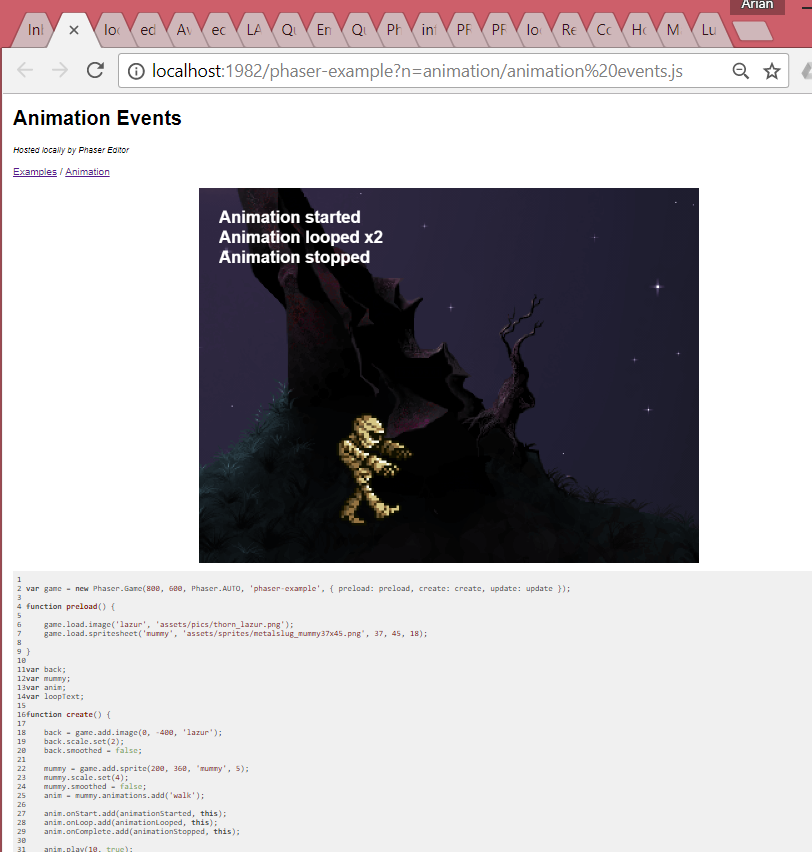
The Phaser Example Project wizard allows you to select one of the Phaser examples and create a project with it, but now you have the option of runs the example before to create the project, just select the example and press the "browse" button:
Launch from Chains example
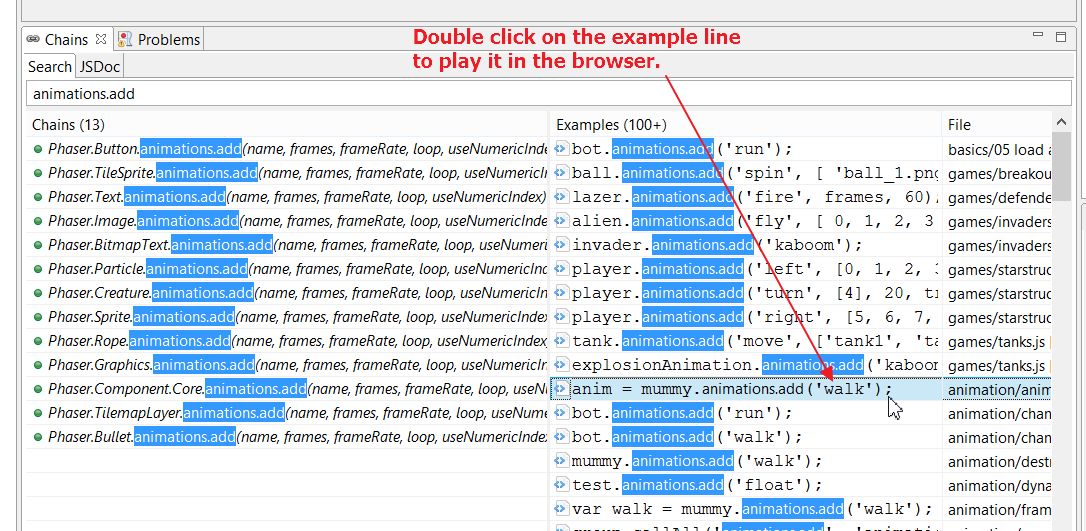
Like in the Phaser Example Project wizard, you can launch an example from a Chains query result. The unique difference is that in this case, the browser will scroll to the selected line.
Internal browser (experimental)
Eclipse allows embedding an external browser in an internal window, with this component we created a simple game player that you can run inside Phaser Editor.
To run a project in the internal player just click on this button:
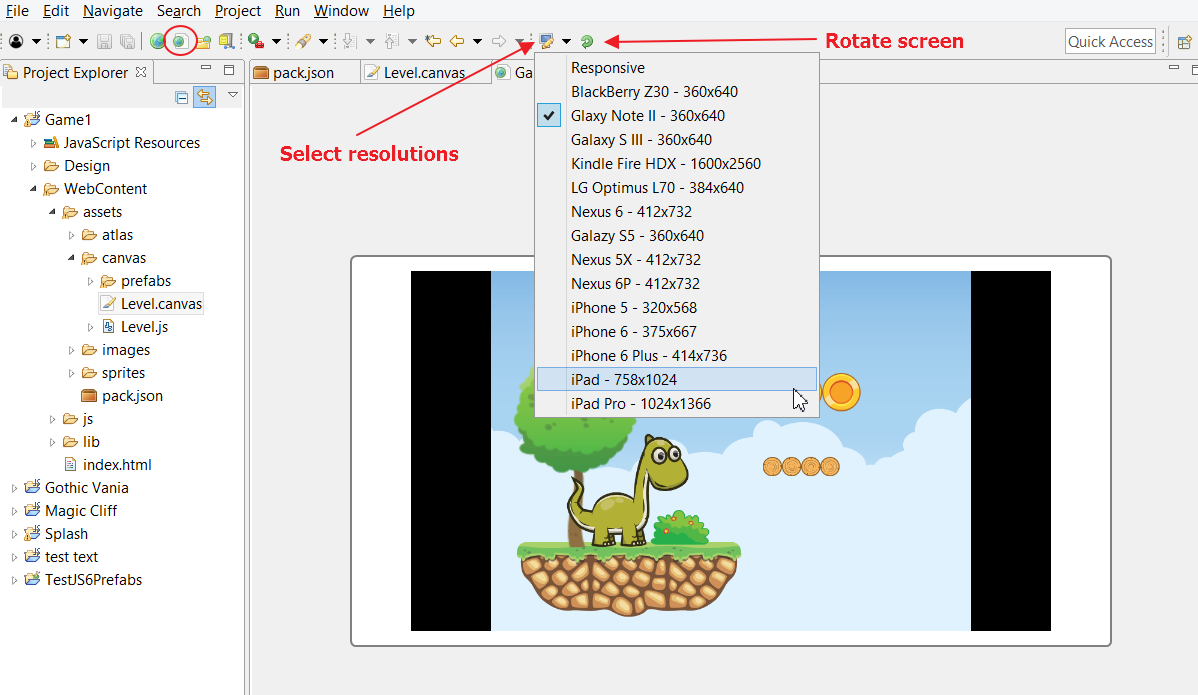
Note there are two other buttons to select the screen resolution and rotate the "device".
This is a nice feature but with a bad support. In Windows it only supports Internet Explorer, in Linux, it just does not work and in MacOS it supports Safari. MacOS is the platform where this better works. In addition, if you keep the player window open, the whole IDE painting is degraded because the game rendering runs in the same thread of the IDE painting. Probably this internal player is good just for creating video tutorials and screenshots (in MacOS it works well), but was easy and funny to do ;-)
Others
- Better HiDPI monitors support (@2x icons).
- Themes are disabled by default. We feel the IDE runs better when the theming engine is off. If you like to enable them (we know some users prefer to go dark) then open the
PhaserEditor.inifile in the root folder and remove the lines:
-cssTheme
none
Update issues
If you are updating from a version previous to v1.4.2, then, when the update completes, does not select to restart, close it and restart the application manually. If you don't do this, the application is going restart one time and another.
This is another update, there is a lot more to come. We look forward to supporting Bitmap Font and Tilemap objects.
Keep in contact with us!
Follow tasks progress. Follow us on Twitter Follow us on Facebook Subscribe to our newsletter
See you soon! Arian
