Hi,
This is a small guide to install TypeScript IDE inside Phaser Editor.
The TypeScript IDE is a new plugin for Eclipse that includes TypeScript and JavaScript text editors. The plugin is inspired by Visual Studio Code and uses the TypeScript Server (tsserver) from Microsoft to provide intellisense for both languages.
In Phaser Editor the JavaScript editor (JSDT) is not modern and do not support JavaScript 6, for that reason TypeScript IDE is the option we recommend for these kind of projects. For the next release we plan to replace the current outdated JavaScript editor by this new plugin.
Step 1: Download the latest Phaser Editor
The current version of Phaser Editor is v1.4.2, please update to that version or download a fresh install.
Step 2: Add required Software Sites
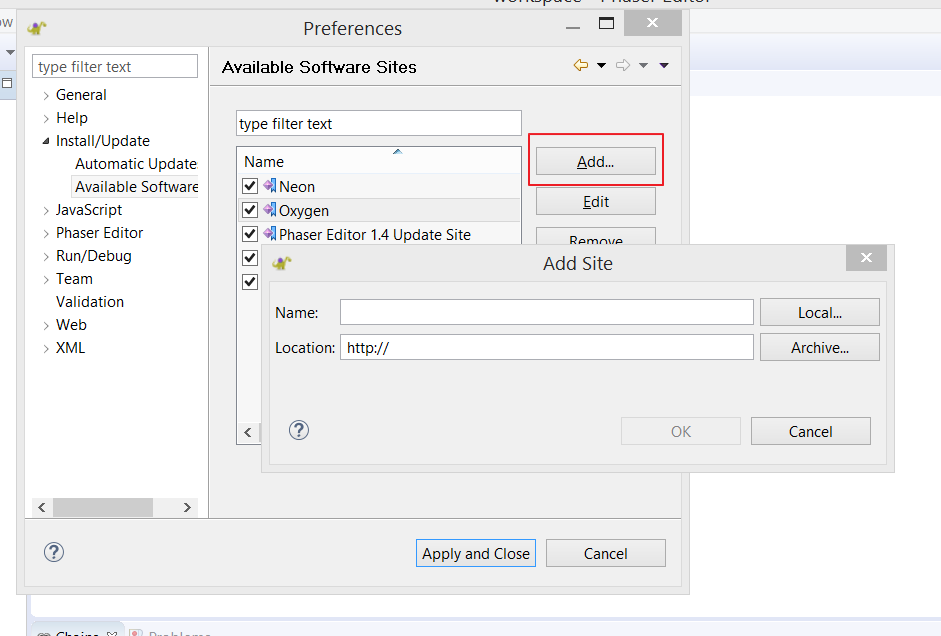
TypeScript IDE depends on Eclipse Neon and Oxygen, so you need to add those update sites to the editor. (A fresh install of Phaser Editor v1.4.2 already contains that references, so you can skip this step)
Just open preferences page at Windows > Preferences > Install/Update > Available Software Sites and add the following update sites (if not present):
Name: Neon
Location: http://download.eclipse.org/releases/neon
Name: Oxygen
Location: http://download.eclipse.org/releases/oxygen
Step 2: Install TypeScript IDE
To install the TypeScript IDE plugin click on Help > Eclipse Marketplace... It opens a window with all the plugins available in the marketplace, just type typescript ide in the search field to find the plugin:
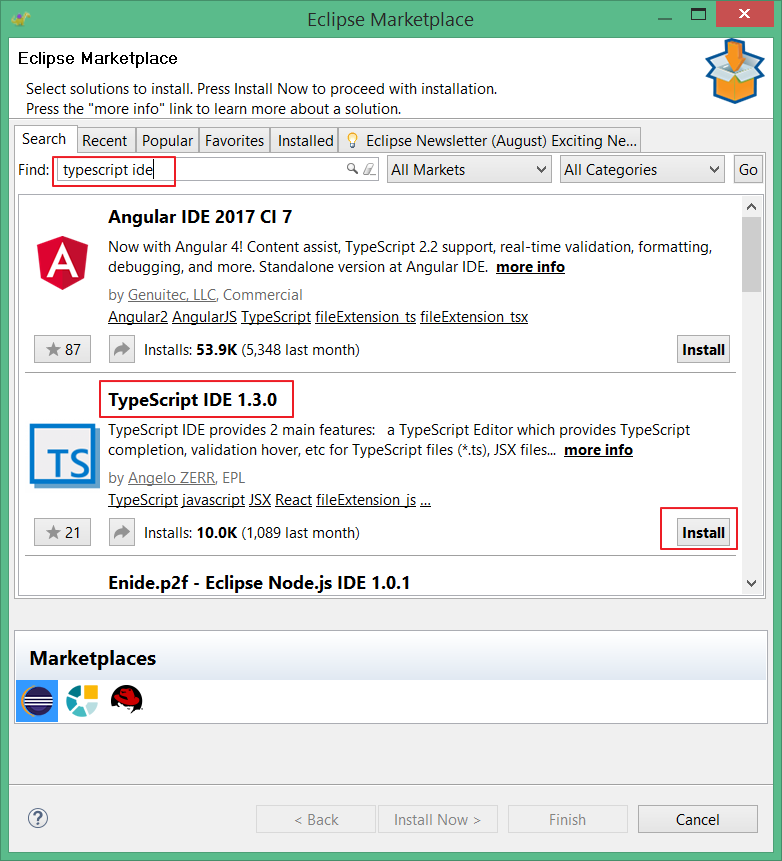
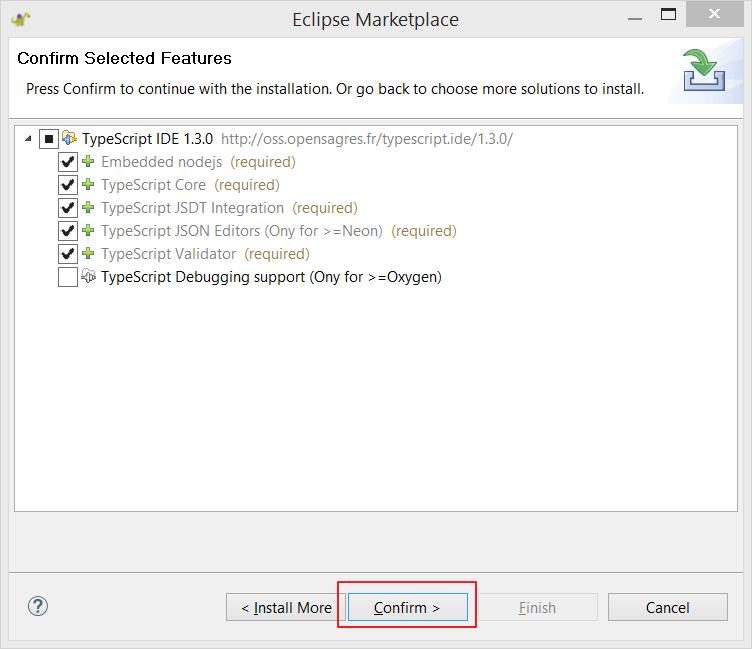
Click on the Install button to start the installation process. The first screen asks for the confirmation of the features to be installed, keep the default values and press Confirm.
The second window is about to accept the terms of the licenses. Accept it and press Finish, the plugin will be downloaded and installed in the background:
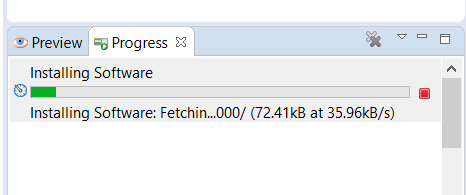
When the installation is complete it will ask for a restart, do it.
Step 3: Create a new Phaser project
Let's see if all is working. Click on File > New > Phaser Project. It opens the project wizard, set the name of the game and click Next. In the project parameters page, select TypeScript in the Language combo:
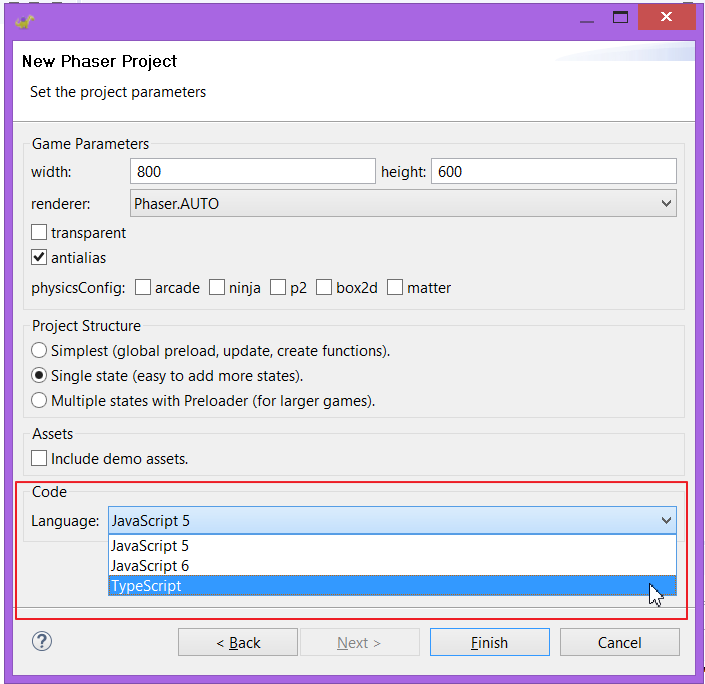
Press Finish and wait the files are copied, the Level.canvas file should be opened in the scene editor. Press the "Show Code" button to open the source editor:

The TypeScript editor should be opened, with the code of the scene. Just write something there to check the intellisense is working:
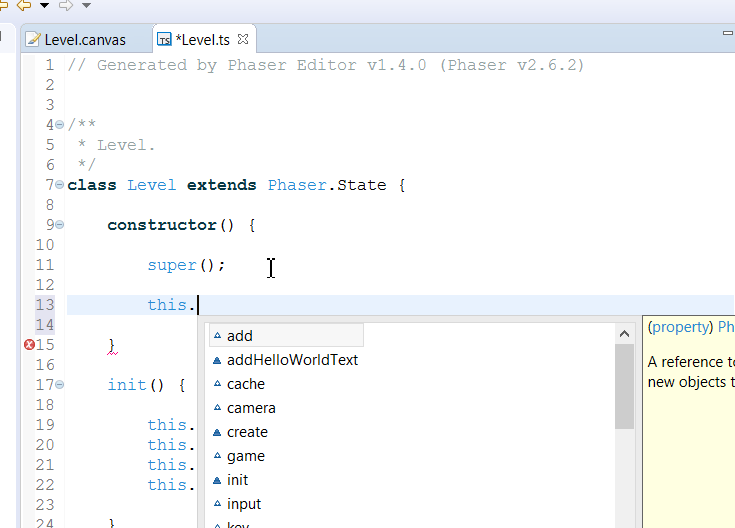
Step 4: Configure the TypeScript project
Like in Visual Studio Code, the TypeScript compiler is configured in the tsconfig.json file. Phaser Editor generates that file for you, but you can open it to set other parameters:
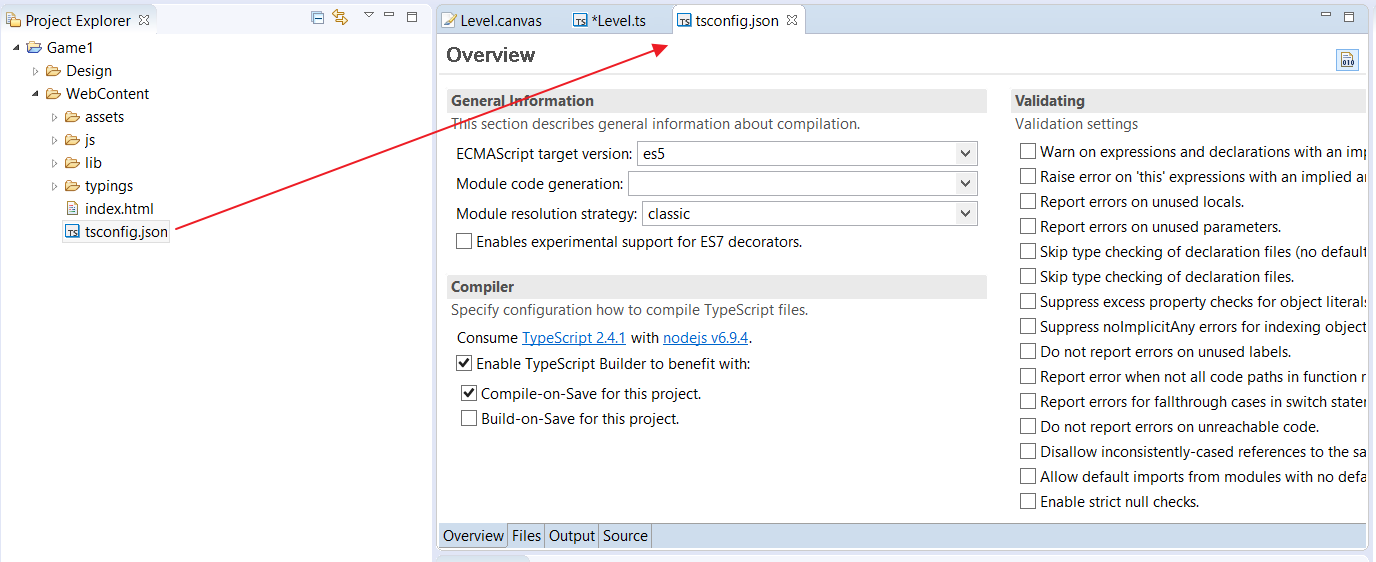
You can read more about these parameters here:
https://www.typescriptlang.org/docs/handbook/tsconfig-json.html
Step 5: Configure the JavaScript 6 project
When you select JavaScript 6 as the language of the project, a TypeScript IDE project is created, but with JavaScript support. The TypeScript Server supports JavaScript and it is a nice choice to edit this language.
Note when you create a JavaScript 6 project, a jsconfig.json file is created. This file is used to configure the JavaScript tooling. You can read more here:
https://code.visualstudio.com/docs/languages/jsconfig
Known issues
Some users experience problems compiling the TypeScript files. Our recommendation is to avoid using the automatic builder provided by TypeScript IDE and use the TypeScript compiler watch mode. Please check these issues on GitHub:
